Publishing a Static Site from VS Code
 NetRunner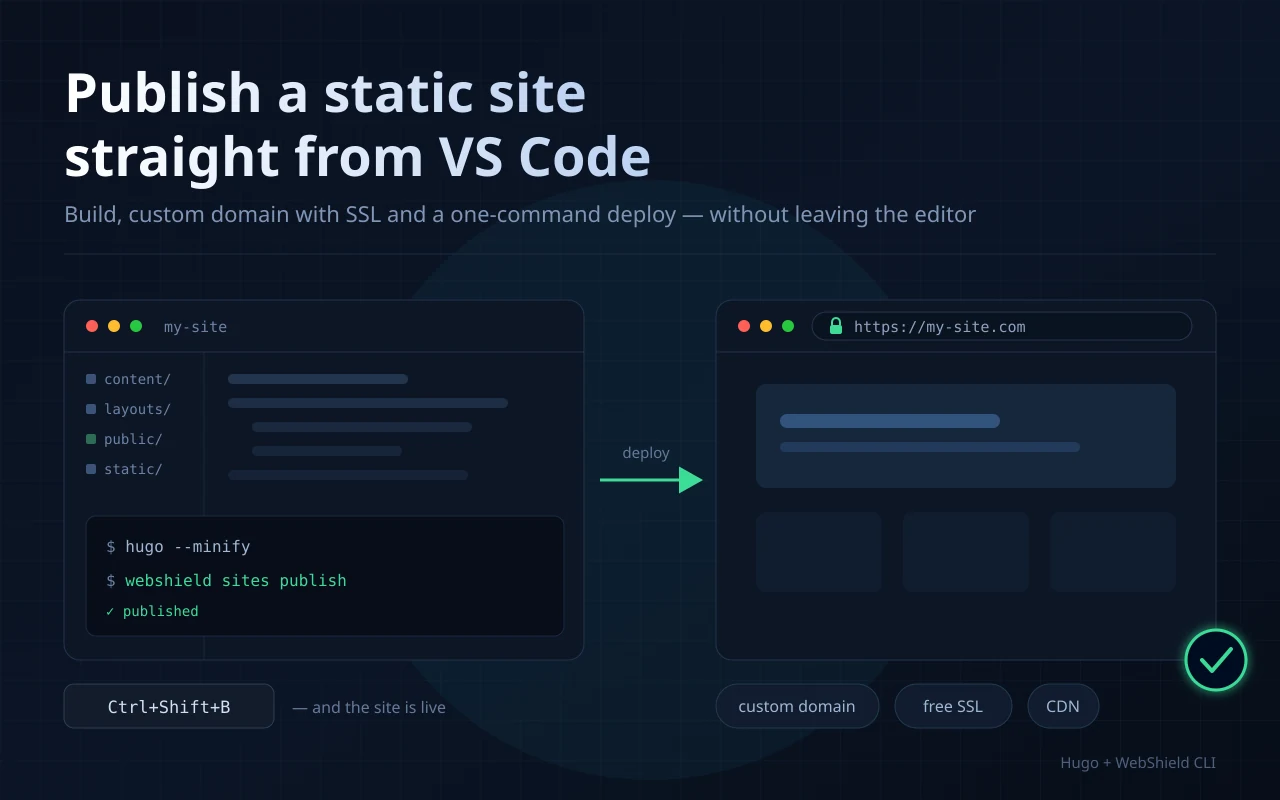
Where to Host a Static Site
Let’s compare the main free and low-cost options for hosting static sites.
| Option | Custom domain | SSL | How you publish | Limitations |
|---|---|---|---|---|
| GitHub Pages | yes | automatic | git push + Actions | repository size and traffic limits; only public content on the free tier |
| Netlify / Vercel | yes | automatic | git push or CLI | build minutes and bandwidth are billed beyond the free tier |
| Cloudflare Pages | yes | automatic | git push or Wrangler | set up in the web console, with its own cache rules |
| AWS S3 + CloudFront | yes | via ACM | aws s3 sync | bucket, policies, distribution and certificate set up by hand; billed per gigabyte of traffic |
| VPS + Nginx | yes | Let’s Encrypt, manually | rsync/scp | updates, certificates and security are the administrator’s job |
| WebShield | yes | automatic | webshield sites publish | storage limits depend on the plan |
How to deploy a site to GitHub Pages. The built files are placed in the gh-pages branch or the docs/ folder of
the main branch, then Pages is enabled in the repository settings. To build on GitHub’s end, add a workflow
in Actions. Publishing always goes through git.
Deploying a site with Netlify and deploy a project to Vercel work the same way: link a repository,
specify the build command and the output folder, and every push kicks off a deploy. A finished directory can also
be uploaded without a repository using the CLI (netlify deploy, vercel). The free tier is limited by build minutes
and bandwidth.
Cloudflare Pages tutorial for beginners follows the same steps as Netlify: link a repository, set the build
command, get a *.pages.dev domain and attach your own. The free tier is generous, but settings and cache rules
are configured only in the Cloudflare dashboard.
AWS S3 static website hosting requires the most manual configuration: a bucket, static website hosting, an access policy, CloudFront for HTTPS and CDN, and a certificate in ACM. Past the CloudFront free tier, each gigabyte of outbound traffic is billed separately with no upper limit, so costs need to be monitored with billing alerts.
A VPS with Nginx gives you full control, but system updates, certificate renewal and security are up to you. An example of such a setup with restricted access is described in the article on client certificate authentication on Nginx.
Below we set up the option where building, publishing and checking the result all happen without leaving VS Code.
Preparation
As an example, we use a Hugo site and WebShield hosting with its CLI client. The guide works for any static site generator (Astro, Next.js, Nuxt, Eleventy, Docusaurus, MkDocs, VitePress) and for a site made of plain HTML files — only the build output directory changes.
What you’ll need:
- VS Code (or Cursor, VS Codium);
- an installed generator and a project that builds locally;
- a domain delegated to the WebShield service;
- an account and a personal API token
wsk_…from the dashboard.
Domain Delegation
At your domain registrar, change the NS servers to nsbox.webshield.pro and nshub.webshield.pro. Remove the old NS
records, otherwise some requests will hit the old servers and the site will open only intermittently. Delegation
changes can take up to 48 hours to propagate.
Project Setup
A Hugo project is structured like this:
my-site/
├── content/          # articles in Markdown
├── layouts/          # templates
├── static/           # files copied into the build as-is
├── themes/           # theme
├── hugo.toml         # configuration, including baseURL
└── public/           # build output — this is what we publish
The public/ directory is generated during the build, so add it to .gitignore along with Hugo’s temporary files.
public/
resources/
.hugo_build.lock
Check that hugo.toml contains the correct site address. Hugo substitutes it into absolute links at build time, and with
a wrong value the site’s styles and images won’t load.
baseURL = "https://example.com/"For convenience, you can install the following VS Code extensions:
- Even Better TOML and YAML — highlighting and validation for front matter and config files;
- Front Matter CMS — editing article metadata through a form;
- Markdown All in One — tables, table of contents, keyboard shortcuts;
- Live Preview — previewing the built output without the generator’s server.
Start the preview in the VS Code integrated terminal (Ctrl+`). The -D flag includes drafts.
hugo server -DThe site will be available at http://localhost:1313 and reloads whenever a file is saved.
Installing the WebShield CLI
The client is distributed as a single binary with no dependencies. Source code and releases are hosted in the webshield-cli repository on GitHub, and the full command reference is in the command-line client documentation. Prebuilt binaries are offered for Linux (x86_64 and aarch64), macOS (Intel and Apple Silicon) and Windows (x86_64). Run all commands in the VS Code integrated terminal.
Linux and macOS
Run the installer. It detects the OS and architecture, downloads the latest release, checks the SHA-256 checksum,
installs the binary into ~/.local/bin and sets up shell completions.
curl -fsSL https://raw.githubusercontent.com/webshieldpro/webshield-cli/main/install.sh | shCheck the installation.
webshield --versionIf the command can’t be found, add the directory to PATH in ~/.bashrc (Linux) or ~/.zshrc (macOS) and relaunch
VS Code.
export PATH="$HOME/.local/bin:$PATH"For zsh, the installer prints a line at the end that needs to be added to fpath for completions to work.
Windows
Download the archive from the releases page, extract it and
add the directory to the user Path. In PowerShell:
$ver = "1.0.2"
$dir = "$env:LOCALAPPDATA\Programs\webshield"
New-Item -ItemType Directory -Force -Path $dir | Out-Null
Invoke-WebRequest -Uri "https://github.com/webshieldpro/webshield-cli/releases/download/v$ver/webshield-$ver-x86_64-pc-windows-gnu.zip" -OutFile "$env:TEMP\webshield.zip"
Expand-Archive -Path "$env:TEMP\webshield.zip" -DestinationPath $dir -Force
[Environment]::SetEnvironmentVariable("Path", "$([Environment]::GetEnvironmentVariable('Path','User'));$dir", "User")
Completely restart VS Code and confirm the installation.
webshield --versionEnable PowerShell completions.
webshield completion powershell >> $PROFILEIf you’re working in WSL, install the Linux build with the script and open the project in WSL: Remote mode.
Building from Source
If running scripts from the internet is forbidden or no prebuilt binary exists for your platform, build the client from source. Only Rust is required.
git clone https://github.com/webshieldpro/webshield-cli
cd webshield-cli
cargo build --release
mv target/release/webshield ~/.local/bin/
Setting Up Completions Manually
For a manual install or a non-standard shell, generate the completion scripts. Supported shells are bash, zsh, fish, PowerShell, elvish and nushell.
webshield completion bash > ~/.local/share/bash-completion/completions/webshield
webshield completion zsh > ~/.zsh/completions/_webshield
webshield completion fish > ~/.config/fish/completions/webshield.fish
Authentication
Generate a token in the dashboard under Settings → API tokens. Grant the required permissions and, if needed, limit the token to a specific domain or site.
Save the token to a profile and check access.
webshield auth login
webshield auth status
Profiles are stored in ~/.config/webshield/config.toml. A profile can be selected with the --profile flag or the
WS_PROFILE variable. The token can also be passed with the --token flag or the WS_TOKEN variable.
Creating the Site
Adding the Domain
Check the list of domains and the delegation status. The status should be “delegated”.
webshield domains list
webshield domains check example.com
If the domain isn’t in the list, add it.
webshield domains add example.comCreating the Site
Create a site on the apex domain example.com and check that it shows up in the list.
webshield sites create example.com --domain example.com
webshield sites listA, AAAA or CNAME DNS record. For a
subdomain, create the record first, for example: webshield dns add example.com docs CNAME example.com.
Proxying must not be enabled for the same hostname.The site is created in the “Disabled” state and remains hidden from visitors until the first publish.
Redirecting from www
There’s no need to create a second site for www. Add a DNS record and set up a redirect to the apex domain so
the site has one canonical version.
webshield dns add example.com www CNAME example.com
webshield proxy set www.example.com --domain example.com \
    --mode redirect --redirect-target example.com
Hosting Settings
Set the parameters in the site card before the first publish. If the site is already live, changes apply immediately without re-publishing. A full description of the settings, limits and API can be found in the static site hosting documentation.
- Site generator — a preset for Hugo, Jekyll, Astro, Gatsby, Next.js export, SPA or plain HTML. Fills in the other parameters with suitable values.
- Clean URLs — how addresses map to files. “Directory index” (
/about→/about/index.html) for Hugo, Jekyll, Astro, Eleventy and Gatsby. “.html extension” (/about→/about.html) for a Next.js export. - 404 page — the file served with a 404 status, for example
404.html. - SPA mode — return
index.htmlwith a 200 status for unknown paths. Required for single-page applications with client-side routing. - Publish over HTTPS — certificate issuance and a redirect from HTTP to HTTPS. The certificate is issued on publish and renewed automatically.
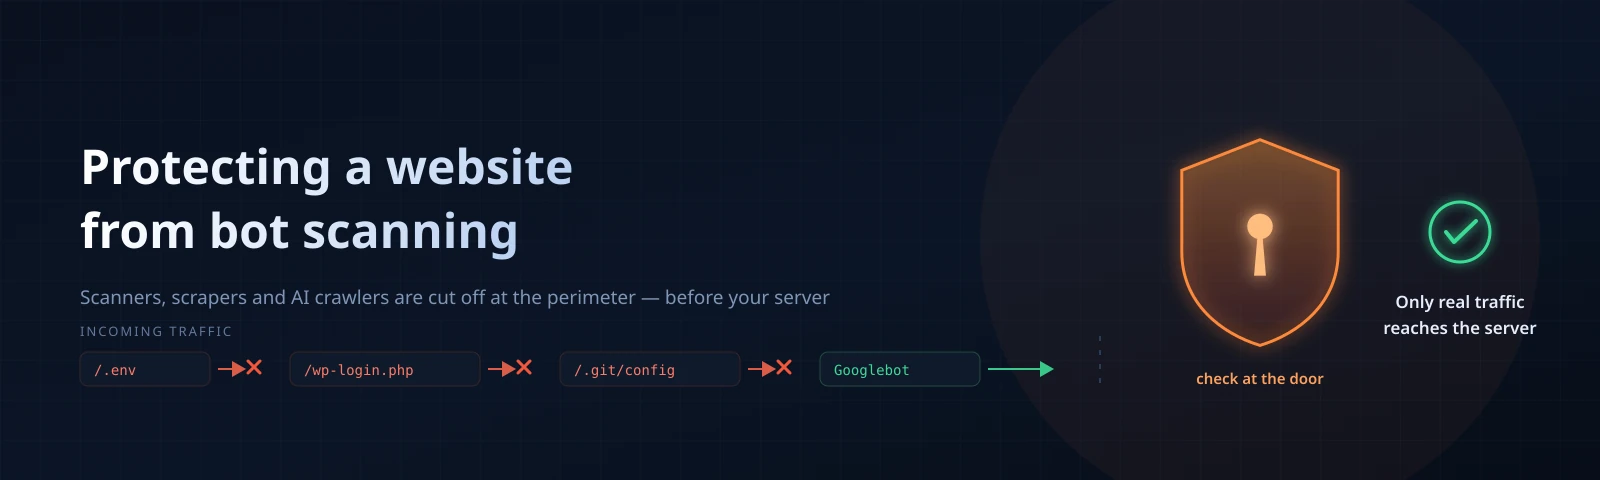
- Bot protection — off, browser check or CAPTCHA. See the article on protecting your site from bots for details.
Publishing from VS Code
Checking and Publishing
Build the site and run the publish in test mode with the --dry-run flag. No files are sent to the server; only
the list of files to be added, changed and removed is shown.
hugo --minify
webshield sites publish example.com --dir ./public --dry-run--dir will be removed from the
site. Before the first publish, always check the --dry-run output to make sure you are publishing public/ rather than
the project root.If everything looks right, publish the site.
webshield sites publish example.com --dir ./publicThe client compares local file hashes with the files on the server, uploads only the changes and publishes the new version atomically — visitors never see a partially updated site. On the first publish, the host’s DNS record is pointed at WebShield infrastructure (the original record comes back if the site is disabled) and a TLS certificate is issued.
Check the list of files on the server.
webshield sites files example.comFor other generators, only the build directory changes.
webshield sites publish example.com --dir ./dist    # Astro, Vite, Nuxt
webshield sites publish example.com --dir ./build   # Next.js export, CRA
webshield sites publish example.com --dir ./site    # MkDocs
VS Code Publish Task
Add a .vscode/tasks.json file to the project root with build and publish tasks.
{
  "version": "2.0.0",
  "tasks": [
    {
      "label": "build",
      "type": "shell",
      "command": "hugo --minify",
      "problemMatcher": []
    },
    {
      "label": "publish",
      "type": "shell",
      "command": "webshield sites publish example.com --dir ./public",
      "dependsOn": "build",
      "group": { "kind": "build", "isDefault": true },
      "presentation": { "reveal": "always", "panel": "dedicated" },
      "problemMatcher": []
    },
    {
      "label": "publish (dry-run)",
      "type": "shell",
      "command": "webshield sites publish example.com --dir ./public --dry-run",
      "dependsOn": "build",
      "problemMatcher": []
    }
  ]
}
Remember to replace every example.com with your domain. Now Ctrl+Shift+B builds and deploys the site. The
publish (dry-run) task is run from Ctrl+Shift+P → Tasks: Run Task.
The separate build step is required: hugo server sets baseURL to http://localhost:1313/, and without rebuilding
the published site would contain links to localhost.
The .vscode/tasks.json file contains no secrets and can be committed to the repository. The tasks work on Linux,
macOS and Windows as long as webshield is in the PATH.
For a staging environment, create a task with a different hostname and profile.
{
  "label": "publish (staging)",
  "type": "shell",
  "command": "webshield sites publish staging.example.com --dir ./public --profile staging",
  "dependsOn": "build",
  "problemMatcher": []
}
Set up the DNS record and the site for it ahead of time.
webshield dns add example.com staging CNAME example.com
webshield sites create staging.example.com --domain example.com
To run the publish with a custom keyboard shortcut, open File → Preferences → Keyboard Shortcuts → Open Keyboard Shortcuts (JSON) and add:
{
  "key": "ctrl+alt+p",
  "command": "workbench.action.tasks.runTask",
  "args": "publish"
}
Checking the Result
Open the site in a browser and check that the certificate is issued for your domain. Monitor statistics and resource usage from the terminal.
webshield stats summary example.com --range 7d   # traffic and request summary
webshield stats bans example.com                 # active bans and checks
webshield billing usage example.com              # usage against the plan limit
For scripts and monitoring, use JSON output.
webshield -o json stats summary example.com --range 24h | jq '.requests'The edge cache is cleared automatically on each publish. If the browser shows an outdated version of a page, reload it bypassing the cache (Ctrl+Shift+R).
Redirects and Forms
Redirects in _redirects
A site keeps changing. Sooner or later pages have to be moved or renamed. When the site sits on your own server or
on regular hosting that’s no trouble — the redirect is set up right in the web server or in PHP. Static hosting can
take redirect rules too. For that we write them into a _redirects file at the root of the published directory, as
described in the documentation. For Hugo the file goes
into the static/ directory.
# 301 by default, but the code can be set explicitly
/contacts-old       /contacts
/blog/*             /posts/:splat   301
/black-friday-sale  /               302
/go/telegram        https://t.me/channel
The format is compatible with Netlify and Cloudflare Pages, so moving an existing file over shouldn’t cause any trouble.
Forms Without a Server
Static sites are a perfect fit for landing pages and business-card sites — they usually have no authentication and no user data. And a contact form for collecting leads can live right on the static site, without a backend server of your own. We wire the form up as described in the documentation.
<form action="/webshieldpro/forms/feedback" method="post">
  <p><label>Name<br><input name="name" required></label></p>
  <p><label>Email<br><input name="email" type="email" required></label></p>
  <p><label>Message<br><textarea name="message" rows="5" required></textarea></label></p>
  <p><button type="submit">Send</button></p>
</form>
<script src="/webshieldpro/forms.js" defer></script>
Here the name feedback can be anything you like. Later it tells you in the dashboard which form was filled in.
With Hugo, HTML has to be kept out of Markdown, so we place the form in a template or a shortcode, for example
layouts/shortcodes/contact-form.html, and add it to a page with {{< contact-form >}}.
When the site is published, the form is discovered automatically and added to the Forms block of the site card. Every message sent to this form goes to your mailbox and is stored in the Messages section, so it can always be looked up in the dashboard.
Publishing from CI
If several people work on the site, move publishing into CI. Generate a publish token in the site card. It works
only for this site and is shown once — save it in the repository secrets, for example as WS_PUBLISH_TOKEN.
Add a step to GitHub Actions.
- name: Publish site
  env:
    WS_TOKEN: ${{ secrets.WS_PUBLISH_TOKEN }}
  run: |
    curl -fsSL https://raw.githubusercontent.com/webshieldpro/webshield-cli/main/install.sh | sh
    ~/.local/bin/webshield sites publish example.com --dir ./public
If the build writes its output to an S3 bucket, publish the site directly from it. The prefix contents replace the site and are saved as a new version, after which the source bucket can be deleted.
webshield sites publish-from-bucket example.com --bucket web --path public/Troubleshooting
webshield: command not found
The directory with the binary isn’t in the PATH. On Linux and macOS, add ~/.local/bin to ~/.bashrc or
~/.zshrc; on Windows, check the user Path variable. After the change, fully relaunch VS Code: the integrated
terminal inherits the environment the editor was started with.
Check what the terminal sees.
echo $PATH                # Linux, macOS
$env:Path -split ';'      # PowerShell
On Linux, the VS Code terminal starts as a non-login shell and doesn’t read ~/.profile, so the line needs to be added
to ~/.bashrc.
401 Error on Publish
The token has expired, been revoked, was created for a different site or lacks write permissions. Verify the active profile and access.
webshield auth statusIf the error occurs only in CI, check that:
- the secret is passed to the step’s environment variables, not only the job’s;
- the workflow isn’t triggered from a fork — GitHub doesn’t expose secrets to such runs;
- the repository has no variable with the same name as the secret.
You can check that the token reached the step without printing its value: echo "${#WS_TOKEN}" prints the string
length. A value of 0 indicates the variable is empty.
The Wrong Directory Was Published
The site shows content/, themes/ and other sources — --dir . was passed instead of --dir ./public. Publish
again with the right path; the new version fully replaces the old one.
Internal Pages Return 404
The wrong “Clean URLs” mode is selected in the site settings. Check which file variant is present on the server.
curl -I https://example.com/about/index.html
curl -I https://example.com/about.html
If the first request returns 200, pick “Directory index”; if the second one does, pick “.html extension”.
Styles and Images Don’t Load
baseURL is missing or wrong in the generator config. Correct the value, rebuild the site and publish again.
Re-publishing without rebuilding won’t help, because the addresses are already baked into the files.
The Domain Doesn’t Open or the Certificate Isn’t Issued
Delegation hasn’t updated yet, or old NS servers are still listed at the registrar. The certificate won’t be issued until the domain points to WebShield.
webshield domains check example.com
dig NS example.com +trace                    # actual delegation
dig example.com @nsbox.webshield.pro         # WebShield server response
If the +trace output lists extra servers, remove them at the registrar and wait for the TTL to run out.
Some Files Didn’t Upload
Check your plan’s limits on storage capacity and file size. Executables and installers (.exe, .msi, .apk, .bat
and the like) can be hosted only on a paid domain plan; on the free plan their upload is rejected. Archives (.zip,
.tar.gz) are allowed on any plan. You can check the list of files to be sent in advance with the --dry-run flag.